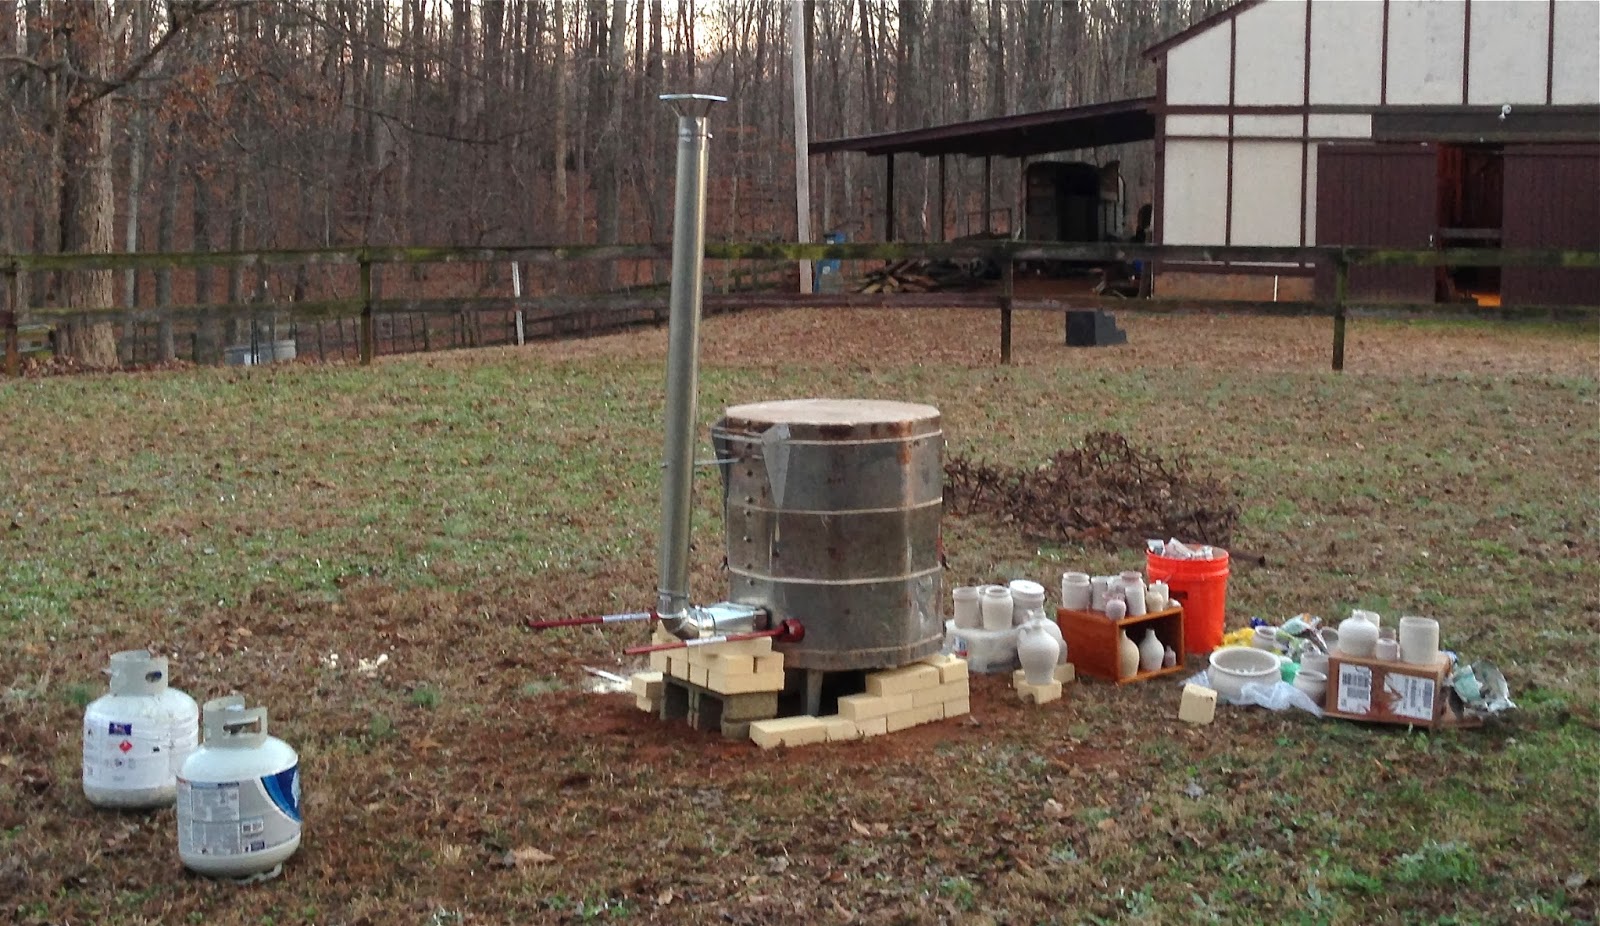
Well, I finally made it out to get things on the gas
kiln shopping list- propane, sabersaw blades, stovepipe, and firebrick. Two
barbeque tanks from Sheetz and a narrow stovepipe with elbow, rectangular
flange, hood/cap, and screw clamps came back in the car. A phone call and a
drive to a local brickyard turned up forty heavy firebricks rated to 2500
degrees Fahrenheit.After warnings from friends that I'd need more fuel, I picked up a 40lb propane tank from Tractor Supply (I eventually tried to get a second but no luck- and I wish I'd been able to).
 |
| Electrical elements pulled out of the sides. |
Back at the farm, I cut the two torch holes in the bottom
ring of the old electric kiln, then the slot between them for the
exhaust/chimney. I tried to make the latter hole equal to the former two
combined to balance the draft. I had already cut the old heating elements at
the ceramic plugs in the wall and removed them- several broke on the way out,
despite trying to be gentle. The straight pieces of wire that secured the
elements were pulled as well. Next, I assembled and test-fitted the chimney,
drilling a hole through the stovepipe about halfway for a piece of threaded
rod. The rod had a nut at one end to hold it in a spring that was attached to
the kiln’s lid hinge. The other end passed through the chimney and was secured
with a wingnut.
 |
| Torches and stovepipe placement. Torches needed to be suspended outside the kiln so they could get enough air |
I carried the kiln sections, chimney, and bricks over to the
ca. 80’ sand ring nearby and began to set it up in the center. I dug pockets
into the sand down to the red clay below to seat four bricks that would give
the kiln’s steel stand a stable footing. With all the fall leaves cleared from
the ring, I set up the floor, rings, and lid, then added a cinder block behind
and attached the chimney. The block would support the stovepipe and torches. The
firebricks would hold the torches but I didn’t make them into a chimney,
wanting to see how well the pipe worked first.
 |
| First incarnation, minus gas hoses. |
With rain forecast for the next day and a package of Seger
cones only due to arrive the day after, I found four old 4x4s and some boars
and rigged a simple frame over the kiln, eight feet high. This I covered with
three sheets of galvanized tin roofing after another run to Lowes. I left the
sheets loose in case the heat got too high and I needed to pull it off but the
stovepipe didn’t do much more than warm the boards in the end.
Kiln packing was simple as this was mostly to be a bisque
firing- I stacked the more fragile and smaller things inside the larger, and
made sure to turn jugs and other handled forms so their handles pointed inward,
out of the direct path of flames. I threw some play sand between the nested
pieces and tried to keep the like-clays together lest things get stuck
together/melt. I had pieces made from five different clay sources in the kiln, several
of which I dug myself, so I didn’t know what to expect.

No comments:
Post a Comment